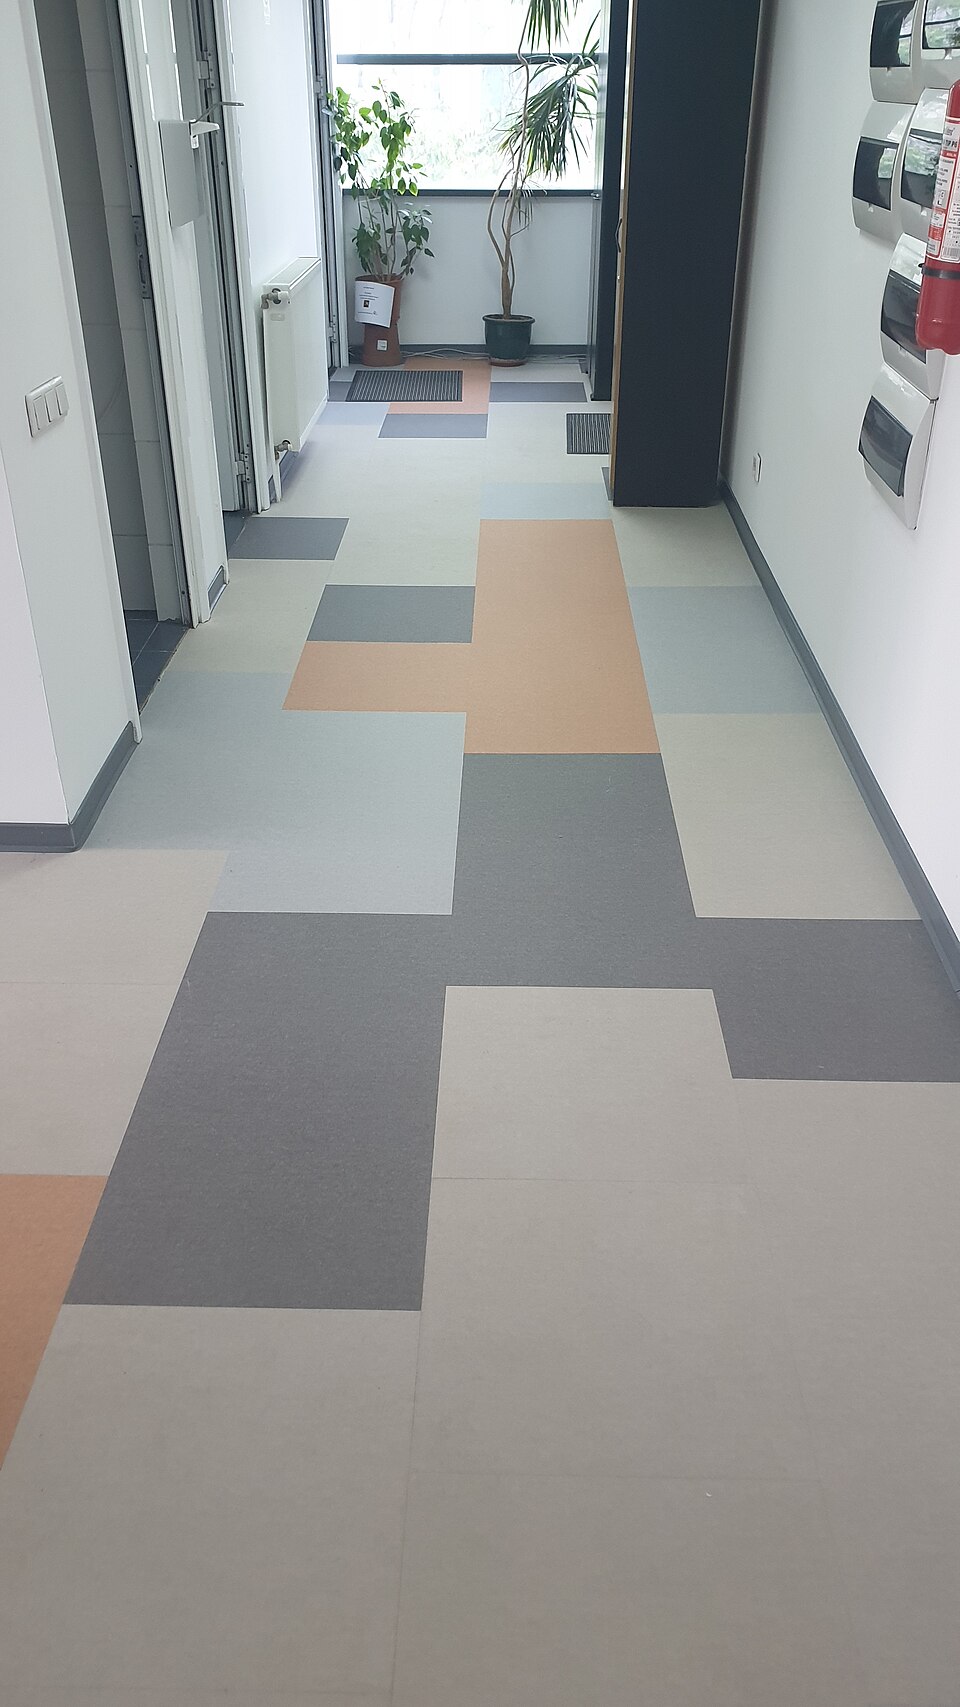

What bathroom vinyl involves
- 1Template the room accurately for cutting, ensuring minimal waste and a precise fit of the vinyl.
- 2Prepare the subfloor by levelling and drying to create a stable and suitable surface for laying vinyl.
- 3Apply the recommended adhesive and carefully position the vinyl, ensuring a bubble-free and smooth finish.
- 4Trim the vinyl around fixed elements to achieve neat edges and discard excess material properly.
- 5Secure the perimeter with appropriate finishers to prevent future curling or lifting due to foot traffic.
- 6Inspect the final installation for flatness and secure adhesion, confirming that the surface is fit for use.
What affects the price?
Fitters usually price labour per square metre, then add for extras. Ask for each of these as a separate line. We don't publish a pound figure without a source and a date.
- Floor area, often with a minimum charge for a small room.
- Taking up the old floor, and disposal.
- Levelling an uneven subfloor.
- Skirting boards, doors and thresholds.
Fitters by city
Questions
How do I check if my subfloor is suitable for vinyl flooring?
To check your subfloor’s suitability, ensure it is clean, dry, and level. Sweep away all debris and dust, then use a level tool to examine flatness across the space. Test for moisture by taping a clear plastic sheet to the subfloor; any condensation that develops while the sheet is left in place indicates too much moisture. Rectify any uneven or damp conditions before proceeding, as these factors can lead to bubbling or lifting of vinyl flooring.
What should I do if my vinyl flooring starts to bubble?
If you notice bubbling, avoid piercing the bubbles, as this can worsen the problem. Instead, identify the cause by checking for subfloor moisture or adhesive failures. Consider professional assessment to address the underlying problem with appropriate solutions such as re-adhesion or subfloor repair. Promptly fix it to maintain the floor's integrity and appearance, as delayed action may lead to permanent damage or more expensive repairs.
Can I install vinyl flooring over existing flooring?
Installing vinyl over existing flooring can be possible, but it depends on the condition of the current surface. The existing floor must be level, smooth, and free from moisture issues. Any imperfections or damage must be repaired or flattened before vinyl installation to prevent transferring these problems to the new layer. Removing the old flooring will often yield better results, especially if it avoids trapping moisture or unevenness.
What are the maintenance requirements for vinyl flooring in wet areas like bathrooms?
Vinyl flooring in wet areas requires regular cleaning to prevent mould and mildew. Use a damp mop with mild soap for general cleaning, and avoid harsh abrasive cleaners that can damage the surface. Check seams regularly to ensure they remain sealed and intact, preventing water ingress. Address spills or standing water promptly, and ensure adequate ventilation to reduce moisture. This routine care prolongs the flooring’s lifespan and maintains its appearance.